
get_image
This guide is for Windows 10/11 or Mac users only!
Verifying Connection:
- Make sure Tape Measure and your device are on the same network.
- Ping spot by opening command prompt and pasting in:
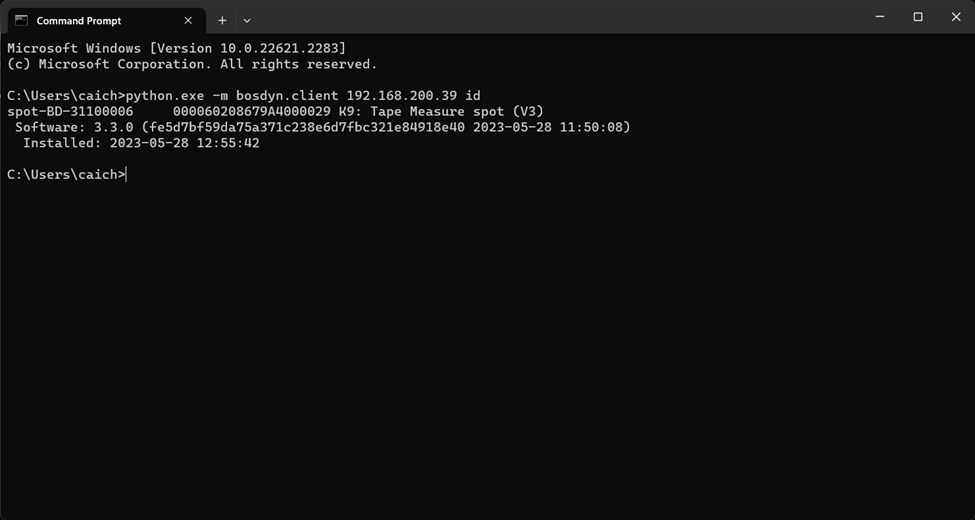
- python.exe -m bosdyn.client 192.168.200.39 id
- The string of numbers in this instance is the ip address of Tape Measure
- For Mac users:
- python3 -m bosdyn.client 192.168.200.39 id
- It should return Tape Measure's name and ID
*Should look something like this:
Get Image
- Get an image from one of Tape Measures cameras!
- Start by opening up command prompt and getting into your virtual environment.
- To get into virtual environment paste:
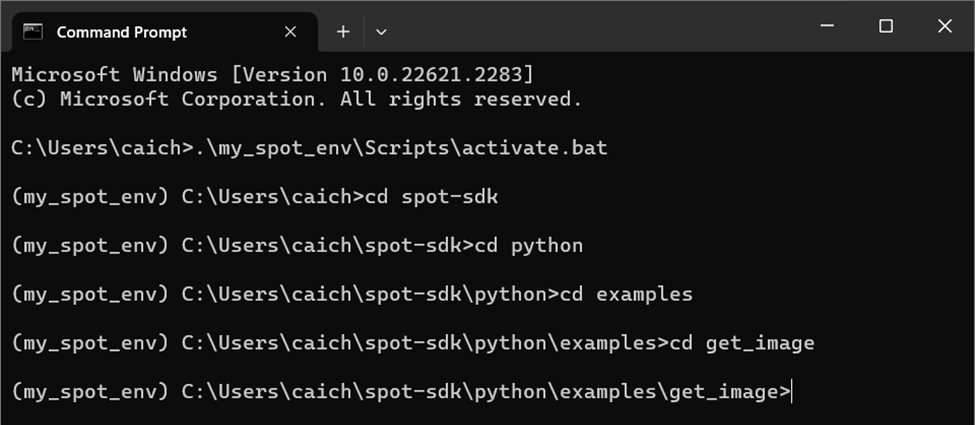
- .\my_spot_env\Scripts\activate.bat
- For more info check previous documentation.
- For Mac users:
- source my_spot_env/bin/activate
- Then cd into your get_image folder of the spot SDK
- To do so find where the spot sdk folder is located.
- Then type cd one folder at a time until you reach get_image
*Should look something like this:
- Then paste in the command:
- python.exe -m pip install -r requirements.txt
- Mac:
- python3 -m pip install -r requirements.txt
- It’s normal if it takes a little bit.
- You are now free to run any get_image command.
- For username and password please see Dwight.
- For all the following commands Mac users just need to replace python.exe with python3.
- For Static Image:
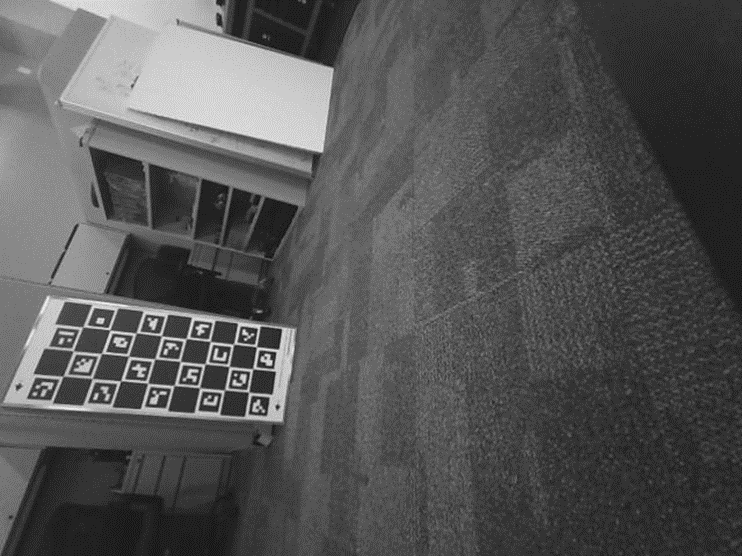
- python.exe get_image.py 192.168.200.39 --image-sources frontleft_fisheye_image --image-sources frontleft_depth
- With static
imageimages you'll find the images saved in the get_image folder. - For Streaming his cameras:
- python.exe image_viewer.py 192.168.200.39 --image-sources frontleft_fisheye_image
- python.exe image_viewer.py 192.168.200.39 --image-sources frontleft_fisheye_image
*IMPORTANT* When in streaming mode press ESC to exit the viewer.
*You should get images such as this one:
Want it to show you color? How about adjusting the picture’s size? You can mess with arguments during meetings! So be there!