
Let's get those Robots moving :)
You'll need...
-
Dabble app
-
Micro-controller
-
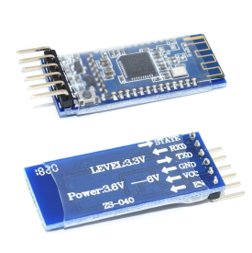
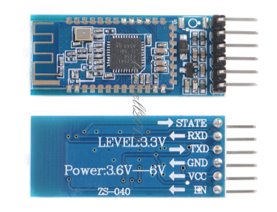
HM-10 Module
-
Arduino IDE

Wiring Setup
|
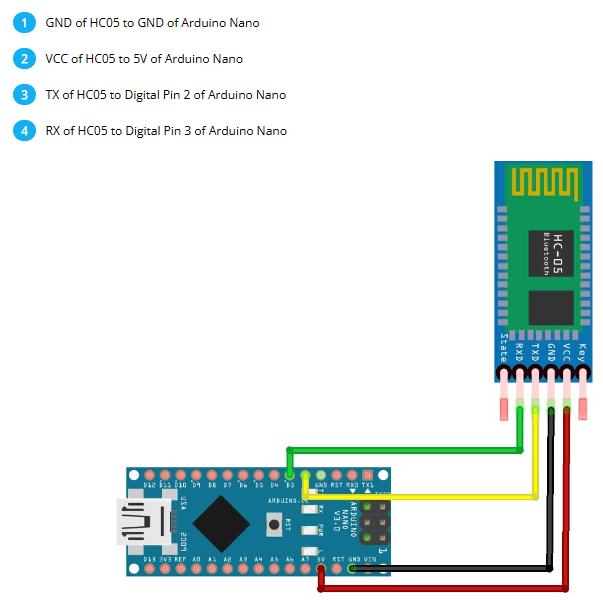
HM-10 Module |
Arduino Nano |
|
STATE |
Don't worry abt it |
|
RXD |
D3 |
|
TXD |
D2 |
|
GND |
GND |
|
VCC |
5v |
|
EN |
Don't worry abt it |
|
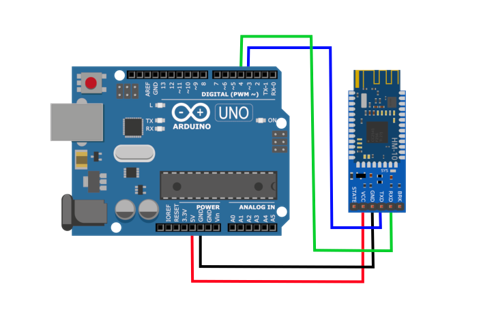
HM-10 Module |
Arduino Uno |
|
STATE |
Don't worry abt it |
|
RXD |
D4 |
|
TXD |
D3 |
|
GND |
GND |
|
VCC |
5v |
|
EN |
Don't worry abt it |
Dabble The App!
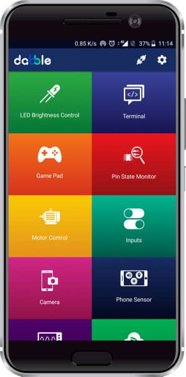
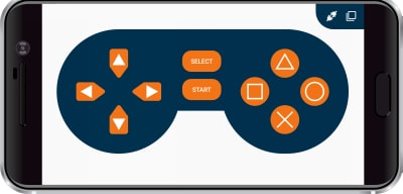
We'll be using the digital mode of the Gamepad Module
-
Feel free to try any of the other modes/modules!
- You'll have 10 digital (ON or OFF) buttons you can use :)
The Code <3
You'll need use a specific library to use the dabble app!
The library is already on the Arduino IDE so just search for it in the Library Manager.
^^^ you'll want to install the 1.5.2 version <3
Check out this video if confused on how to install a library.
Here's some code you can start with : )
/*
SUMOBOT CONTROLS for Dabble app and HM-10 module!!!!

   To control your bots we'll use the Gamepad module.
   The Gamepad module provides three different modes this one is set up for Digital mode. (check out the other modules and modes if you'd like!!)
       - Digital mode gives you 10 buttons :)

   More INFO on Dabble: https://thestempedia.com/docs/dabble/game-pad-module/
*/

//include lines 8-10 so you can work with the right library *make sure you downloaded 1.5.2 version (see pwrpoint for instructions)
#define CUSTOM_SETTINGS
#define INCLUDE_GAMEPAD_MODULE
#include <Dabble.h>

//below is the setup for the bluetooth and Serial Monitor
void setup() {
  // put your setup code here, to run once:
  Serial.begin(250000);      // IMPORTANT: make sure your Serial Monitor is also set at this baud rate.
  Dabble.begin(9600);      // this is the baudrate of your bluetooth
}

void loop() {
  Dabble.processInput(); //this function is used to refresh data obtained. Calling this function is mandatory in order to get data properly from your phone.
  Serial.print("KeyPressed: "); // This is just printing into the Serial Monitor good way to check if you're connected :)

/*
THE WAY IT WORKS:
   When you click one of the buttons on the app it'll register as ON in the Arduino script and run whatever you have under the if (GamePad.isBLAHPressed())
    ... SO instead of having Serial.print("BLAH") put in your own commands such as turning ON your right_motor
    ^^ These commands will depend on what functions you want and what motor driver you went with

FOR WHAT IS WRITTEN BELOW:
~ using the Serial.print commands below can be helpful to test that the bluetooth is successfully connected ~
*/

  if (GamePad.isUpPressed())
  {
    Serial.print("UP");
  }

  if (GamePad.isDownPressed())
  {
    Serial.print("DOWN");
  }

  if (GamePad.isLeftPressed())
  {
    Serial.print("Left");
  }

  if (GamePad.isRightPressed())
  {
    Serial.print("Right");
  }

  if (GamePad.isSquarePressed())
  {
    Serial.print("Square");
  }

  if (GamePad.isCirclePressed())
  {
    Serial.print("Circle");
  }

  if (GamePad.isCrossPressed())
  {
    Serial.print("Cross");
  }

  if (GamePad.isTrianglePressed())
  {
    Serial.print("Triangle");
  }

  if (GamePad.isStartPressed())
  {
    Serial.print("Start");
  }

  if (GamePad.isSelectPressed())
  {
    Serial.print("Select");
  }
  Serial.print('\t');

}
No Comments